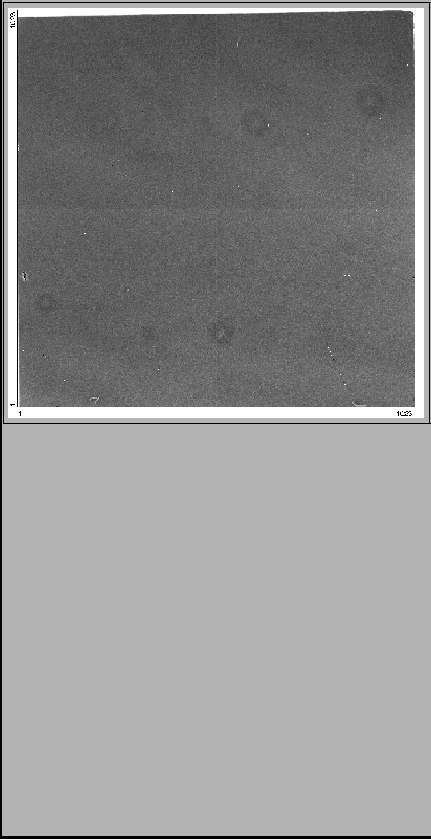
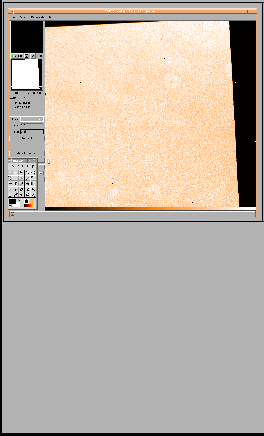
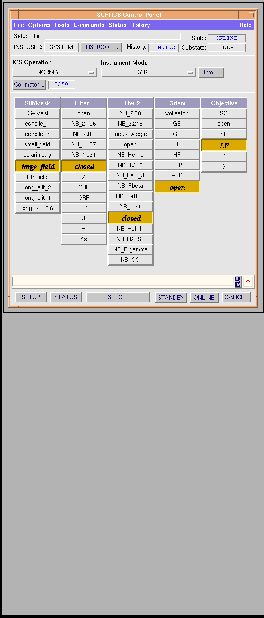
In large field the image you have on the RTD should be like that :
When you have a different position in large field, or a really strange one for one of the slit, that means that the wheel lost its position : and so you cannot observe !!!!!!! But there's a simple procedure to recover it.
The fallback init position for the slit/mask wheel is the slit 0.6''. So all the operations you have to do are to be done with this particular position : slit 0.6''. Follow the steps:
 and than
 . How can you know that the position is good or bad?
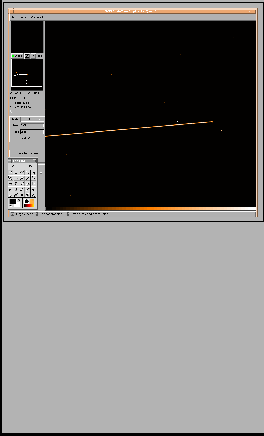
If you have a horizontal slit, you have to check that it's the 0.6''. So
simply go on the
 and , doing an autocup
and see if the slit is larger than the first one. Do the same with the
 and again, the slit should look larger.
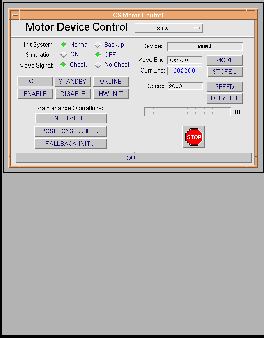
 . A small window appears : ``Motor device Control'', Figure
3.
You can enter the encoder value you want in the ``Move Enc'' space, and so,
move manually the wheel (click on  ). What you have to do,
it moves the wheel until you have the 0.6'' slit on the RTD.
To align it by eye, go on the RTD to cut spectrum. Using shift and the right
button of the mouse, draw a horizontal line: put it on the middle of the
detector. The slit will be aligned
when it will be as close as possible to
this line. (NB : the slit is centered on 500 pixels).
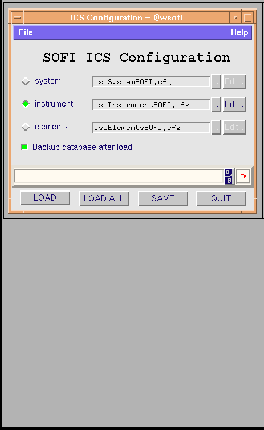
On the ICS Control Panel, on the menu, click on Tools and Configuration Tools : the panel represented on the figure
6 appears.
Click on the  (the small square on the left side must
be green) and then click on
 . An emacs window is opened,
where you have all the values for the parameters. Find the line :
, and note the encoder value (ex: 61560). Close the emacs window, and the Configuration Tools panel.
 button.
IF it's ok, you have finished ! But most
of the time, it's not enough to recover SOFI.
 : the color of the
 button becomes red.
 : a small window is opened, and you
have to enter the encoder value you find in the configuration table (ex: 61560)
and click on
 . It will take may be one minute, so
please wait ! Then quit this window.
 (the color
of the button will change for green.
 : the color
of the button becomes violet.
Here, you should be ok: that means the physical position of the wheel is the 0.6'' slit, the position in the OS panel is the 0.6'' slit.
After that, you have to check if the alignement is good enough (must be
lower than 1px/1000px ). To do that, run the SOFI_alignSlit template,
with the slit 0.6'' (put the value SLIT = long_slit_0.6).
The template asks to you to put the calibration unit IN (do it)
and after a minute, it shows you a small window with the misalignement: if
it's larger than 1px/1000px, say YES (it will move the wheel), and iter this
step until you have less than 1px/1000px.
When the template is finished, that means PHYSICALLY , the slit
is really well aligned: you can read in the BOB window the actual value of
the encoder (ex: 61750).
BUT you have to re-do the FallBack init procedure otherwise, each time you
will run a spectroscopic template, it will go to read the encoder value
in the table (61560) and the slit will be misaligned.
The FallBack Init procedure will ``change'' the really-well-aligned encoder
value (6175) to the reference encoder value (61560). That means you change
the values of the encoder positions.
: the color of the
button becomes red.
: a small window is opened, and you
have to enter the encoder value you find in the configuration table (ex: 61560)
and click on . It will take may be one minute, so
please wait ! Then quit this window.
(the color
of the button will change for green.
: the color
of the button becomes violet.
Now you are completly aligned !!!
NB : When you run the Align_Slit template, be careful !!!!!!!!!! If you have to change the configuration file, put SOFI in the FallBack Init positions: Slit 0.6'' and Ks otherwise you will loose the positions of the wheels !!!!